How to Upload YouTube Shorts and Get More Views

You can upload a YouTube Short from pretty much anywhere—your phone or your computer. On mobile, it’s as simple as tapping the “+” icon in the YouTube app and choosing “Create a Short.” From your desktop, the process is similar to a regular video upload, but with a key difference: it needs to be a vertical video under 60 seconds, and you should include #Shorts in the title or description to give YouTube a clear signal.
Why Bother With YouTube Shorts Anyway?
Before we get into the nitty-gritty of uploading, let’s talk about why Shorts have become such a massive deal for creators. It’s all about tapping into the huge global appetite for quick, snappy, vertical video. The platform pushes Shorts like crazy, often serving them up to people who have never even heard of your channel. This makes them an incredibly powerful tool for reaching new audiences and growing your subscriber base.
The numbers are pretty staggering. Since launching in 2020, Shorts have exploded. By early 2025, they were pulling in 70 to 90 billion views every single day. And the engagement? It's sitting at an average of 5.91%, which is a solid figure compared to other platforms. If you're curious, you can dig deeper into the latest user statistics to see just how big this audience is.
Getting the Basics Right
So, what actually makes a video a "Short" in YouTube's eyes? You can't just upload anything and expect it to land on the Shorts shelf. Your video has to meet a few specific technical requirements, or the algorithm will just treat it like a regular, horizontal video.
Think of these as the ground rules. Nailing them is the first and most important step to getting your content discovered.
Here’s what you absolutely need to get right:
- Keep it brief: Your video has to be 60 seconds or less. Seriously, even a single second over and it won't qualify.
- Go vertical: The video needs a vertical or square aspect ratio. The sweet spot is 9:16, which perfectly fits a standard smartphone screen.
- Use the hashtag (on desktop): If you're uploading from a computer, pop
#Shortsinto your video's title or description. This acts as a clear signpost for YouTube to categorise your video correctly.
To make it even clearer, here’s a quick rundown of the technical specs. Getting these right from the start saves a lot of headaches later.
YouTube Shorts Upload Requirements At a Glance
SpecificationRequirementVideo Length60 seconds or lessAspect Ratio9:16 (vertical) or 1:1 (square)Resolution1920 x 1080 pixels (recommended)File Format.MOV, .MPEG4, MP4, .AVI, .WMV, etc.Hashtag (Desktop)Include #Shorts in title or description
Master these simple requirements, and you're well on your way to getting your content in front of the massive Shorts audience.
Uploading Shorts Straight from Your Phone
For most of us, the easiest and fastest way to get a Short live is right from the YouTube mobile app. It’s built for those spur-of-the-moment ideas, letting you shoot, edit, and publish in just a few minutes.
You’ll kick things off by tapping that big “+” icon at the bottom of the home screen. That's your gateway to creation.
From the menu that pops up, choose “Create a Short.” This will fire up the Shorts camera, which is surprisingly powerful for on-the-go editing. You can either film something new right then and there or, as I usually do, pull in a video you've already recorded. Just tap the little gallery icon in the bottom-left corner to access your phone's camera roll.
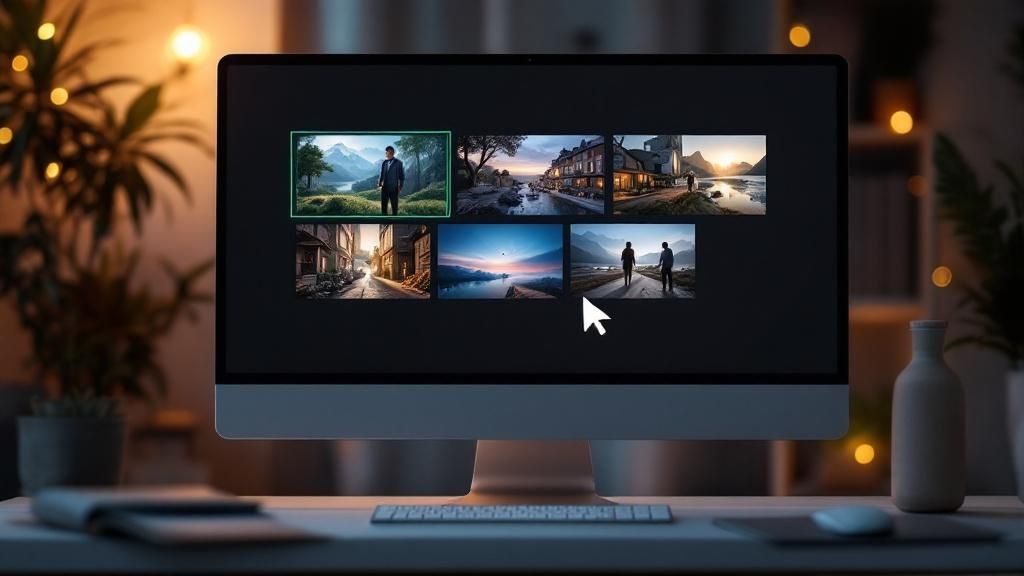
Getting Around the In-App Editor
Once your video is loaded, you'll land in the editor. This is where the magic happens and you can polish your clip before anyone sees it. The interface is pretty straightforward, as you can see below.

The first thing you’ll want to do is get your timing right. Grab the handles on the timeline at the bottom to trim your clip. Remember, it absolutely has to be 60 seconds or less to qualify as a Short—there's no wiggle room on that.
With your clip trimmed, it's time to think about sound. Tap the “Add sound” button at the top of the screen to browse YouTube’s massive library of licensed music and audio clips. Choosing a trending sound here is one of the best things you can do for your Short's discoverability.
Pro Tip: Don't just slap a song on it. After adding a sound, tap the "Adjust" button. This lets you slide the soundwave around to perfectly time a beat drop or a specific lyric with something happening in your video. It’s a small touch that makes a huge difference.
The Finishing Touches
Now that your timing and audio are locked in, you can start adding some personality. These final layers are what often make a Short stand out.
- Text Overlays: The text tool is your best friend for adding context or a punchline. You can play with different fonts and colours, but the real power is in the timing. You can set exactly when each piece of text appears and disappears.
- Timeline: This is your control centre for timing everything. Use it to sequence your text overlays perfectly, making sure they pop up at just the right moment.
- Filters and Effects: A quick filter can completely change the mood of your video. You can also experiment with more advanced features like the Green Screen effect to put yourself in a whole new environment.
Once you’re happy with how everything looks and sounds, tap “Next.” All that's left is to write a catchy title, choose your visibility settings (Public, Private, or Unlisted), and smash that upload button. It really is that simple.
Uploading Polished Shorts From a PC or Desktop
While the mobile app is fantastic for quick, on-the-fly uploads, sometimes your content just needs that extra professional touch. If you're editing your clips in software like Adobe Premiere Pro or DaVinci Resolve, uploading from your desktop is definitely the way to go. It’s the best workflow for preserving that crisp quality you worked so hard to achieve.
Before you even open a browser, double-check your video file. It’s a simple step, but it’s crucial. Your video absolutely must be in a vertical (9:16) or square (1:1) aspect ratio, and it needs to be less than 60 seconds long. If it doesn't meet these two fundamental criteria, YouTube won't recognize it as a Short, and it'll just get lost among the regular long-form videos.
Navigating the YouTube Studio Uploader
Got your file ready? Perfect. Now, head over to YouTube Studio and look for the “Create” button in the top-right corner. If you’ve uploaded a standard video before, this screen will feel very familiar.

This is your command centre for desktop uploads. You can drag and drop your video file right into the window and start filling out all the important details.
Here’s a tip that a surprising number of creators miss: make sure you add the #Shorts hashtag to either your title or your description. Yes, YouTube’s algorithm is pretty good at identifying a Short based on its length and aspect ratio, but adding the hashtag is like giving it a clear, unmissable signal. It guarantees your video gets categorized correctly and pushed onto the Shorts shelf where it belongs.
Pro Tip: The desktop uploader gives you access to powerful features you just don't get on mobile. You can schedule Shorts to go live during peak viewing hours, add them to playlists to get viewers hooked, and just generally manage your content library far more effectively.
Taking advantage of these desktop-only tools can make a huge difference. For instance, you could batch-create a week's worth of Shorts, schedule them to post when your audience is most active, and build a consistent content rhythm. That's the kind of strategy that both your viewers and the algorithm love to see.
Alright, let's get your Short noticed. Uploading the video is just the first step; the real magic happens in how you package it. Your title and hashtags are your one-two punch for grabbing attention from both viewers and the YouTube algorithm.
Think of it this way: when someone is scrolling through Shorts, you have less than a second to stop their thumb. Your title is your hook. It needs to be short, sharp, and spark enough curiosity to make them pause.
The best approach I've found is to put the most exciting part right at the beginning. Get straight to the point.
For instance, a title like "I Tried to Make a New Snack Recipe" is pretty forgettable. It'll just get lost in the feed.
Now, compare that to "1-Minute Pizza Toast Hack That Actually Works." See the difference? It’s specific, it promises a quick and valuable solution, and it makes people want to see if it really works. That's the kind of title that stops the scroll.
Getting Your Hashtags Right
Once you've nailed the title, it's time to think about hashtags. This is where so many creators miss a huge opportunity. They either skip them or just dump in a bunch of generic tags hoping for the best. A smart hashtag strategy is way more nuanced.
You need a solid mix of broad, high-traffic tags and more specific, niche ones. Here’s how I break it down:
- Broad Discovery Tags: Think of these as the big categories. They're your entry point into massive conversations on YouTube, like
#DIY,#comedy, or#lifehacks. - Niche Community Tags: These are the secret sauce. They connect you with a hyper-interested audience looking for exactly what you've made. Tags like
#woodworkingprojectsor#veganrecipeshareare perfect examples.
Here's a pro tip that’s non-negotiable: Always include #shorts. While YouTube's system is pretty good at identifying Shorts, adding this tag manually guarantees it gets categorised correctly and pushed onto the Shorts shelf. Don't leave it to chance.
So, for a quick cooking video, your final mix might look something like this: #shorts #cooking #easyrecipes (for broad reach) paired with #15minutemeals #pastatiktok (to attract a dedicated foodie audience). This layered strategy gives you the best of both worlds—casting a wide net while also zeroing in on viewers who are most likely to stick around.
Getting the hashtag mix right depends heavily on your niche. What works for a gaming channel will be completely different from what works for a fashion creator. Here’s a quick comparison to give you some ideas.
Hashtag Strategy Comparison for Different Niches
Content NicheEffective Hashtag MixIneffective ApproachDIY Home Repair#shorts #homerenovation #DIY #plumbingtips #fixit#cool #video #youtube #foryouComedy Skits#shorts #comedy #funny #skit #relatablehumour#comedyskit #funnyskit #shortvideo (Too repetitive)Fitness Tutorials#shorts #fitness #workout #HIIT #athomeworkout#gym #health #exercise #fit (Too generic, not specific)Tech Reviews#shorts #techtips #iphone15 #cameratest #gadgets#tech #review (Doesn't specify product or benefit)
Ultimately, finding the perfect hashtag blend is a bit of an experiment. Pay attention to what works for others in your space, but don't be afraid to test different combinations to see what helps your content take off.
Smart Uploading and Scheduling Practices
Uploading your Short is only half the battle. When you publish it can make a massive difference to its initial traction and how far it spreads. You want to drop your video right when the most people are actively scrolling.
Think of the Shorts feed like a bustling highway. Launching your content during peak traffic gives it the best shot at getting noticed. Based on 2025 data, the sweet spots for uploading are typically between 12 PM and 3 PM and then again from 7 PM to 10 PM in your local time zone. These windows line up perfectly with lunch breaks and evening wind-down periods across Canada, when viewer activity is at its highest.
Build a Consistent Content Calendar
Consistency is key. It tells both your subscribers and the YouTube algorithm that you're a reliable creator worth paying attention to. This is where YouTube Studio's scheduling tool becomes invaluable—you can batch-create your content and set it to go live days or even weeks in advance.
To take it a step further, think about mapping out your entire month by utilizing a social media calendar template. This helps you maintain a steady rhythm, turning random uploads into a predictable and dependable content pipeline that your audience can look forward to.
Pro Tip: Your job isn't done once the Short is live. Pin a thoughtful comment to kickstart the conversation. A simple question related to the video is a great way to encourage replies and boost engagement—a strong positive signal to the algorithm.
Don't forget about your channel's Community tab, either. It’s a fantastic tool for building hype. Post a sneak peek, a behind-the-scenes photo, or a poll about your upcoming Short to get your audience excited before it even drops.
Answering Your Top Questions About Shorts
Even the most seasoned creators hit a few snags or have lingering questions about the YouTube Shorts process. Let's tackle some of the most common ones I hear, so you can spend less time guessing and more time creating.
One question that comes up all the time is about re-uploading a Short that didn't take off. My advice? It's almost always better to just move on. The algorithm probably won't give a re-upload that same initial boost, and honestly, your creative energy is better spent on a fresh idea, taking what you learned from the last one.
Can My Shorts Actually Be Longer Than 60 Seconds?
For the longest time, the answer was a hard no. But in a big shift, a late 2024 update now lets creators upload Shorts up to three minutes long. This is a great change if you're looking to do deeper storytelling or more complex tutorials, but don't forget—viewer attention spans are still razor-thin.
Here's the thing: just because you can make a longer Short doesn't mean you should. The sweet spot is still all about testing. See what your audience responds to. Many people are still conditioned to expect that quick, punchy format.
Does Video Quality Really Matter for Shorts?
Yes, one hundred percent. Shorts might have a more spontaneous, off-the-cuff vibe than long-form videos, but that's no excuse for poor quality. Think about it: a blurry, pixelated video is an immediate scroll-past for anyone watching on a crystal-clear phone screen.
Always try to export your video at the highest quality you can, aiming for at least 1080p (1920x1080). When you give YouTube a high-quality file to start with, your video will still look sharp and professional even after their compression kicks in.
Ready to make your audio and video sound incredible without the headache? Trebble lets you edit your content as easily as a text document. Cut filler words, remove awkward silences automatically, and make your voice shine. Start for free at Trebble.