How to Add Audio to Mailchimp

How to Add Audio to Mailchimp
Written by Sonia Khanna 6 Minute Read
The secret behind creating an impactful newsletter is to attach audio and sound. This simple addition allows your content to appear more personable, attracting a larger audience. We live in an inclusive and accommodating society, using audio will cater to communities who are visually impaired or to those who simply want the efficiency of listening to written content. It is widely researched that embedding audio will increase user experience and reduce reader disruptions. The benefits are endless, if you are an aspiring newsletter creator, follow these detailed steps to make your content drastically stand out.

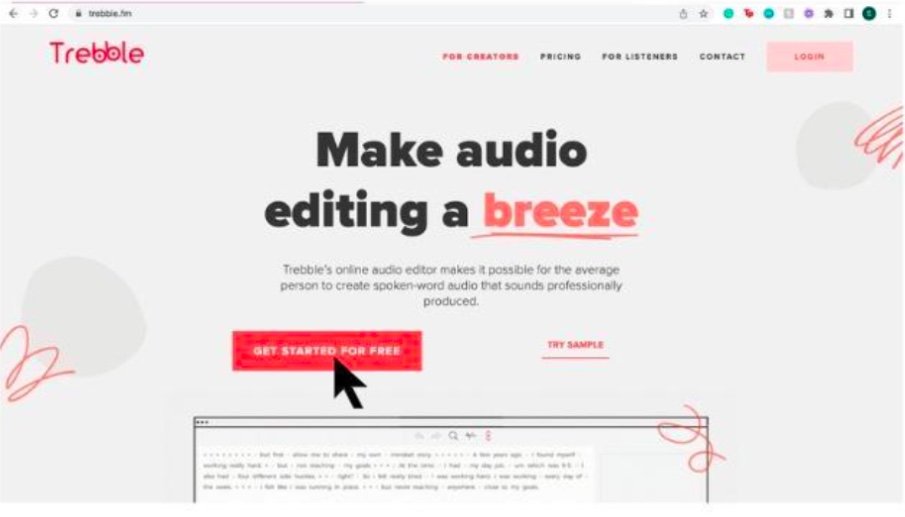
Step 1: Log in to the Trebble Platform
If you do not have a Trebble account, not to worry, you can easily create an account with Trebble for absolutely no cost.
Create an Account with Trebble Here
Click the “Get Started for Free” button.
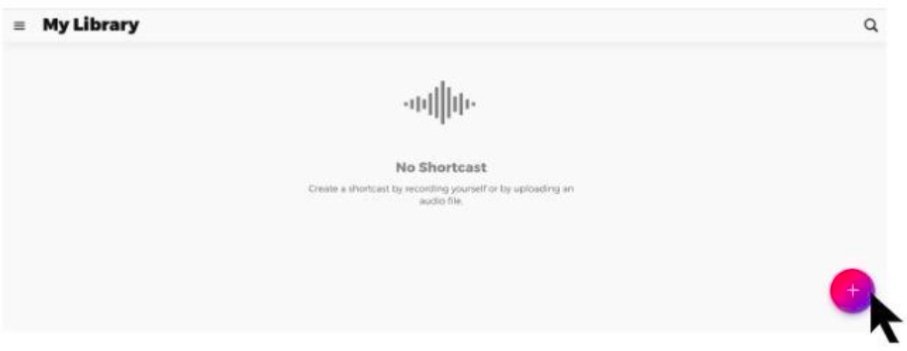
Step 2: Click the Plus Icon to Begin
Once you have created an account with Trebble, you will be prompted to create content. Click the multicoloured plus sign symbol to begin.
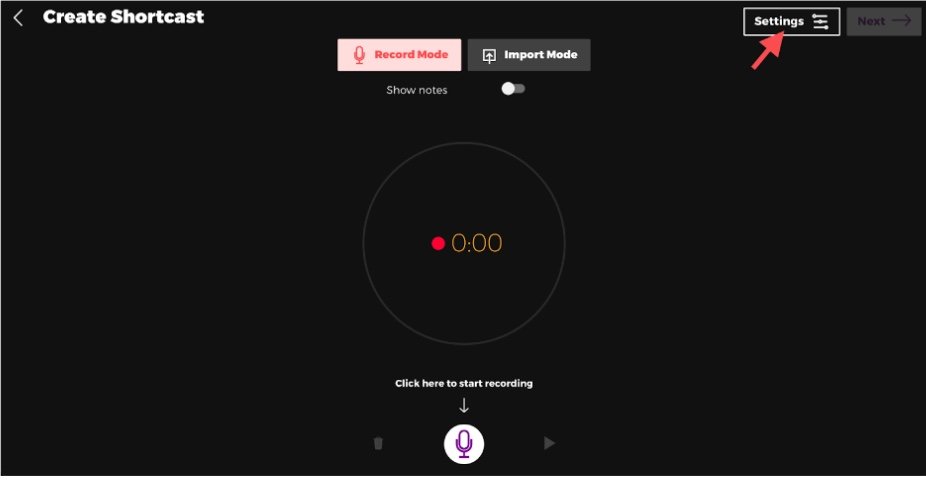
Step 3: Some Housekeeping Before Recording
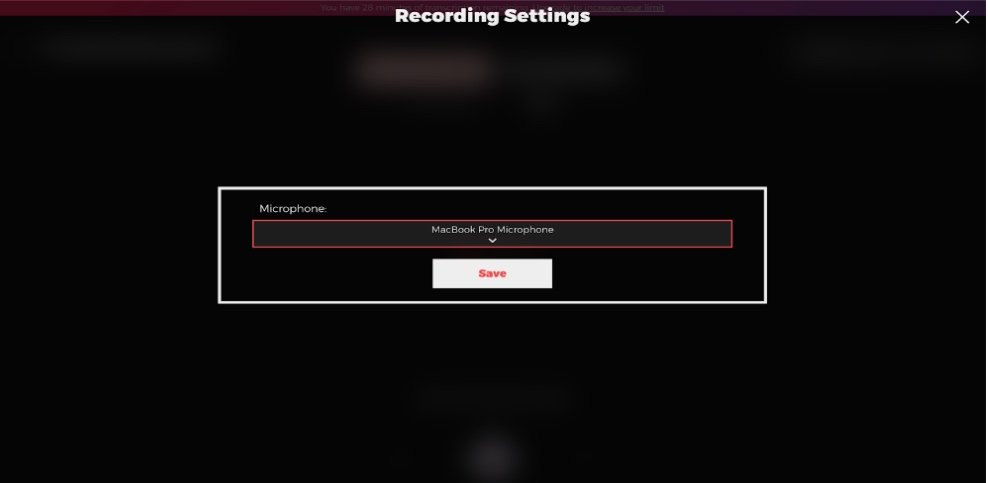
First thing first, you want to verify that your microphone is correctly plugged in. After that, make sure that Trebble is listening to your microphone. To do so, click on the “Settings'' button in the top right corner.
Use the provided dropdown to select the microphone input you want to use and click on “Save” to confirm your changes.
Do you have a script you want to use during your recording? Click on the “Show notes” toggle button. This will display a text field where you can enter your script to help you during your recording.

Step 4: Begin Recording by Clicking the Microphone Icon
To begin recording, click the microphone icon to start.

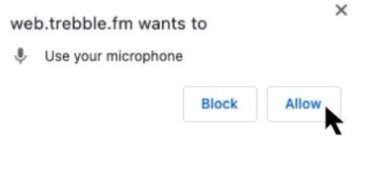
You’ll be asked for permission to use your microphone in order for Trebble to record. Click on the “Allow” button to give permission.
While you are recording, if you make a mistake or you stumble on a word, don’t stop your whole recording. Instead, take a pause, gather your thoughts and resume speaking starting from the sentence where you made a mistake. Once you are done, stop the recorder and listen to the whole recording by clicking on the play button. Ignore the little mistakes you’ve made along the way. We will clean up all those little mistakes in the next step. You have as many times to record as you would like, so take your time.
Once you are done and happy with your recording, click “Next"
Step 5: Transcribe Your Audio
Transcribing your audio will allow you to efficiently edit your content. Choose the closest language to the one you are using in your recording to get the most accurate transcription.

Trebble offers 37+ languages and dialects to choose from.
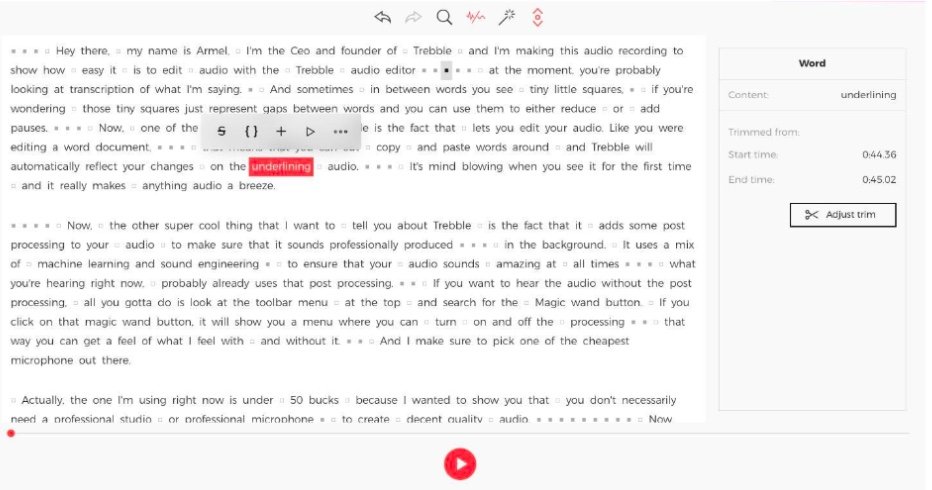
Step 6: Edit Your Audio
This is where the magic happens. You can now visually see your audio. Delete, cut, copy and paste words around and Trebble will automatically reflect your changes to the underlying audio. You can edit your audio like a Word document. Through Trebble’s transcription, you can add background audio, insert audio, play from a certain timestamp, cut, copy and save as a clip. The small squares between words and phrases are pauses, you may choose to delete pauses or add more.
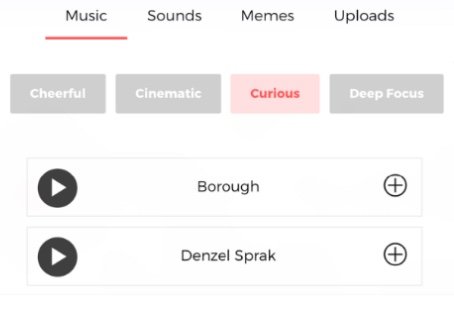
Additionally, Trebble offers a wide variety of music and sounds to complement your audio. Browse the categories and find what suits your newsletter best.
Step 7: Noise Cancellation Tool
Trebble offers various features that will take your audio to the next level. The noise cancellation tool will eliminate the background noise such as fans, alarms, doorbells, dog barking etc.

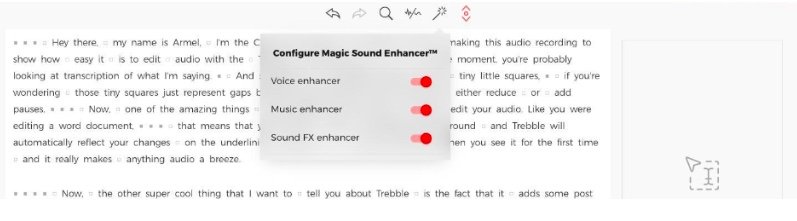
Step 8: Magic Sound Enhancing
Trebble’s Magic Sound Enhancer comprises three tools, voice enhancer, music enhancer, and sound FX enhancer, that are all automatically applied to your content. You may adjust and turn them on/off according to your preference. It is recommended to utilize each of these features to clean and polish your audio.
Step 9: Title Your Audio
Once your audio newsletter is edited, the next step is to download and export it. Once you click the Next button after editing, you will be prompted to give your audio a title. In addition, you can share a link to an article, picture, or video. Give it a name and click finish.

Step 10: Transport to Your Trebble Library
Your audio will now be transported to your Trebble library where you will have the options to edit, comment, share, download or delete. No one else has access to your library.

Step 11: Share a Link
If you choose to download, your content will open on your laptop through a secondary source.
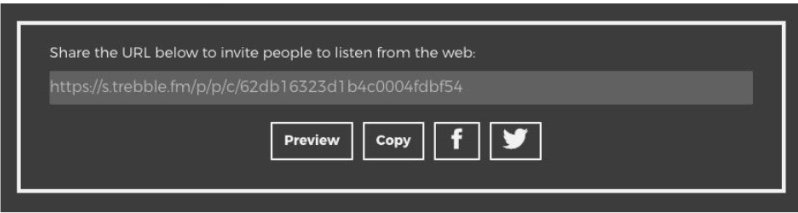
If you choose to share, you have two options, one is to share a link to invite people to listen to your audio on the web.

By choosing the share a link option, you will receive a personalized URL. With this URL, you will have the ability to share your audio newsletter with whomever you would like. This is the recommended pathway for adding audio to Mailchimp.
Step 12: Log in to Mailchimp
The next step is to go on Mailchimp and once you log in or sign up for an account, click “Create”

Step 13: Edit Design
Locate the content section and click the pencil tool to edit the design.

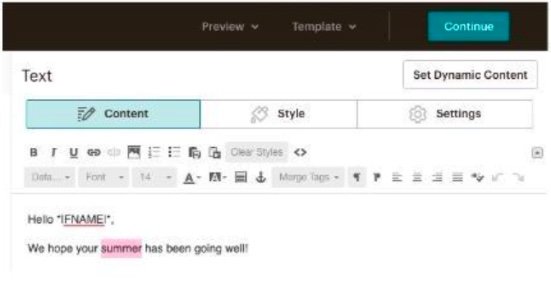
Step 14: Highlight Desired Text
Highlight a certain section of your newsletter, so you can attach your audio. If you want to attach your audio without embedding it to text, you may skip this step.
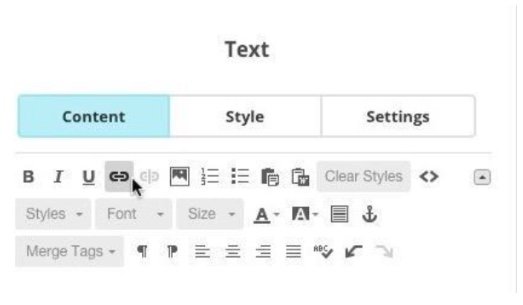
Step 15: Embed Audio
Click on the icon displayed below that will be located in the text menu.
Step 16: Highlight Desired Text to Embed Audio
Insert the link Trebble has provided you of your audio.

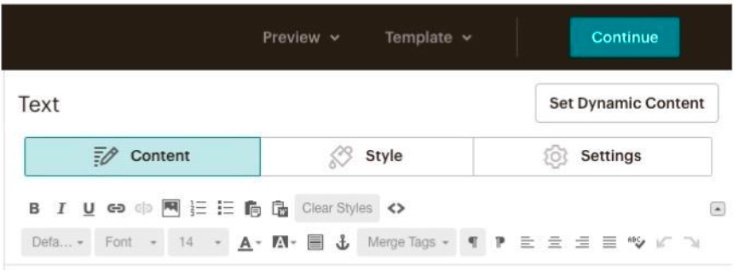
Step 17: Click Continue, Once Done
Once you are satisfied with your newsletter, you may press “continue” on the top right-hand corner.
Step 18: Send and Publish your Mailchimp Newsletter
To officially release your new and improved newsletter, you may click the send button.

Step 19: Share and enjoy your improved Newsletter
Congratulations, you have learned the process of adding audio to your Mailchimp newsletter. This simple addition will greatly improve your audience's experience. With this method, you could add numerous audio pieces to your newsletter and let creativity take control. We hope this was easy to follow along and beneficial.

If you have any questions or require assistance, please contact hello@trebble.fm